Contents
TP-Link released the new firmware for Archer C7 v2 router. New firmware contains new bug and vulnerability fixes as well as new features and enhancements.
As the official TP-Link website goes, they have fixed the WPA2 Security (KRACKs) Vulnerability and the bug in resolving some specific domains when the router works as DNS server.
Besides that, they added the following enhancements: SMBv2 support in the USB sharing and improved router’s performance on the 2.4G wireless network. Here we provide our step-by-step guide on how to upgrade your TP-Link Archer C7 to the latest firmware version.
How to Upgrade TP-Link Archer C7 v2 Firmware
Step 1. Download the new firmware
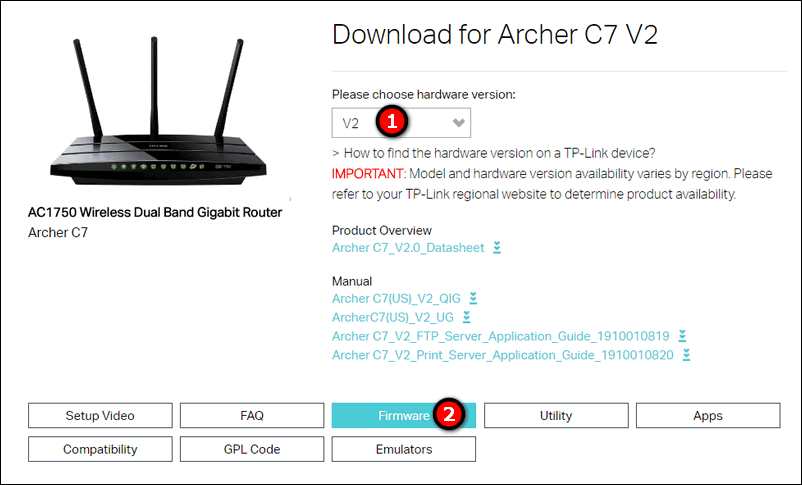
- Go to the official TP-Link website: http://www.tp-link.com/us/download/Archer-C7_V2.html
- Be sure to select the correct hardware version: in our case it is v2.
- Then click on Firmware:

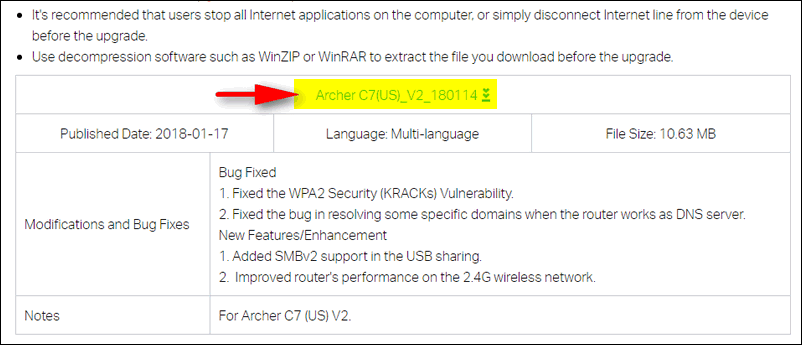
- Scroll down and download the latest firmware for your router model:

- Now extract the archive your downloaded to any folder:


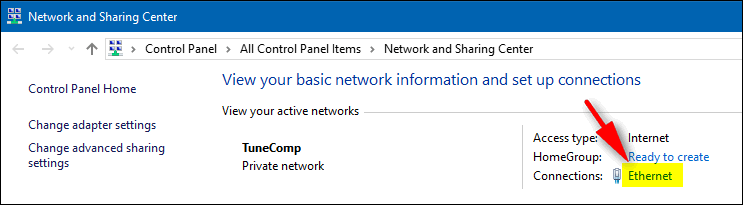
Step 2. Find your router’s IP-address
You can find your Archer’s IP address using various methods:
- type tplinkwifi.net in the browser’s address bar.
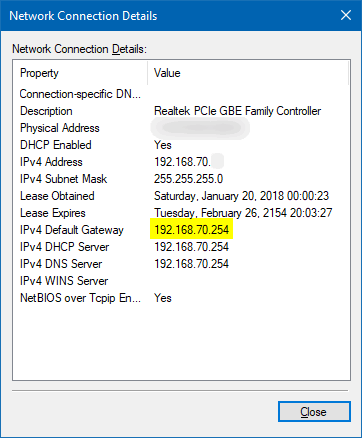
- in Windows 10 go to Network and Sharing Center > Network connection properties > Details:


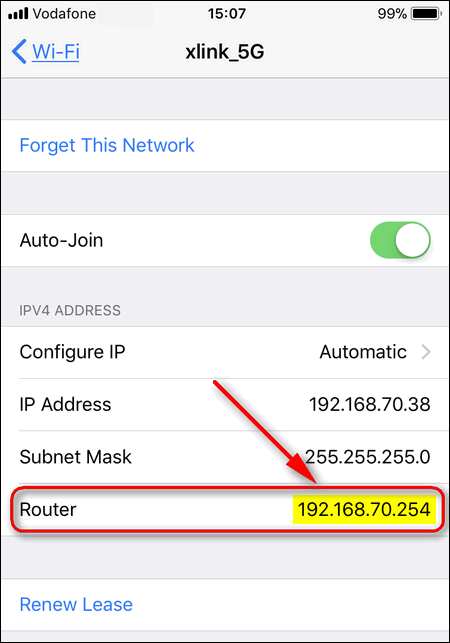
- find the IP address using your iPhone or Android device:

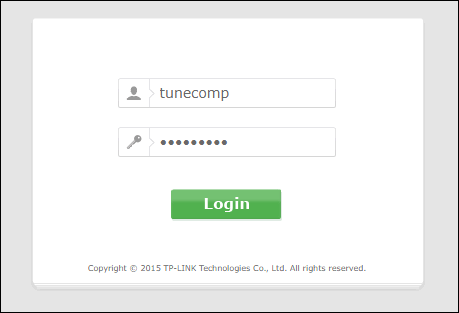
Step 3. Log in to the router settings
Type admin/admin if you have default credentials or put in login and password you have previously specified:
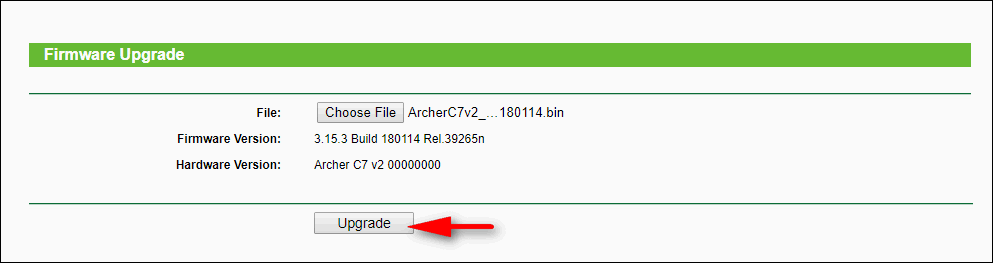
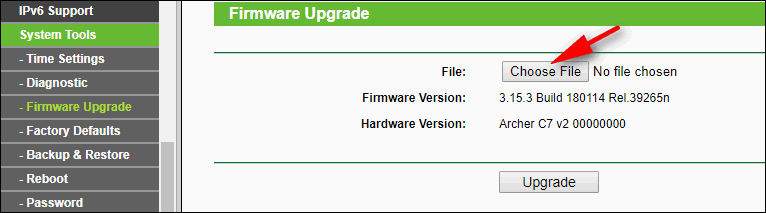
Step 4. Upgrade Firmware of your TP-Link Archer C7
- Go to System Tools > Firmware Upgrade.
- Click Choose file:

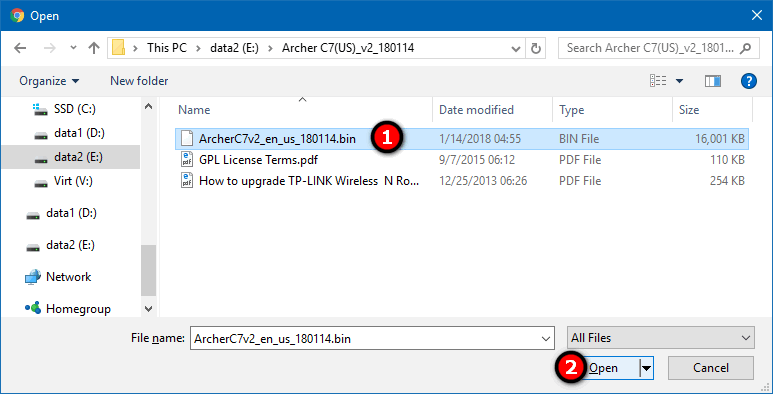
- Browse to the folder you’ve just extracted the firmware file to and click Open:

- Finally click Upgrade:

- Wait for a few minutes until your Archer completes the flash process and reboots.
Please, let us know in the comments whether or not this guide was helpful for you. Thank you for your feedback!
I just upgraded my Archer C7 to the v2 firmware and I’m really happy with the new features. The new firmware is much faster and more stable than the previous version.