Contents
There is a number of benefits of using Microsoft Account. Personally I like the wallpaper sync most of all 🙂 But in some cases you may want to create a local user account in Windows 10. And it is very easy. Read our step-by-step guide below.
How to create a local user on Windows 10
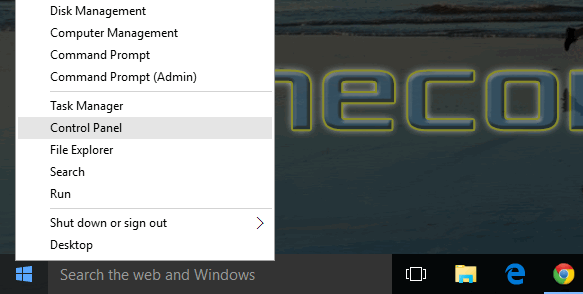
Open the Control Panel:
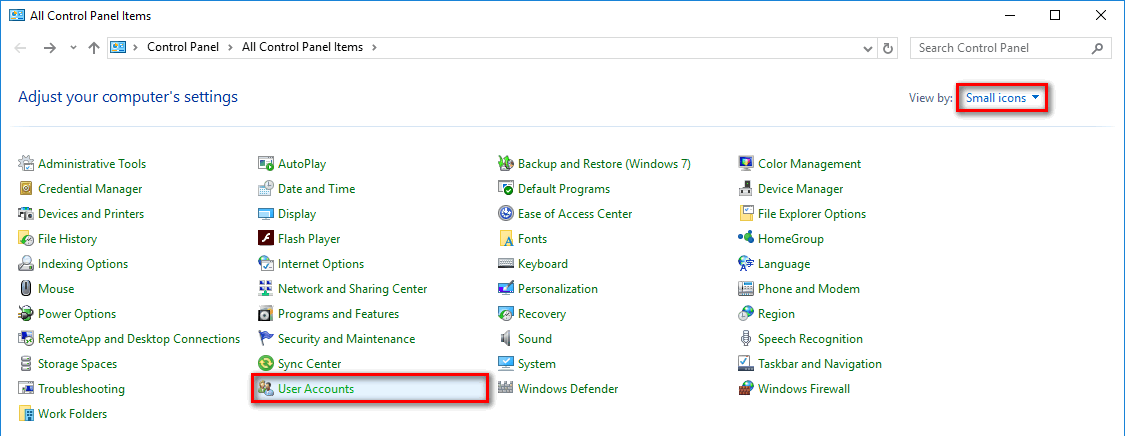
In Small Icons view select User accounts:
Click on Manage another account link:

Click on Add a new user in PC settings:

Click on Add someone else on this PC:

Lick on I don’t have this person’s sign-in information:

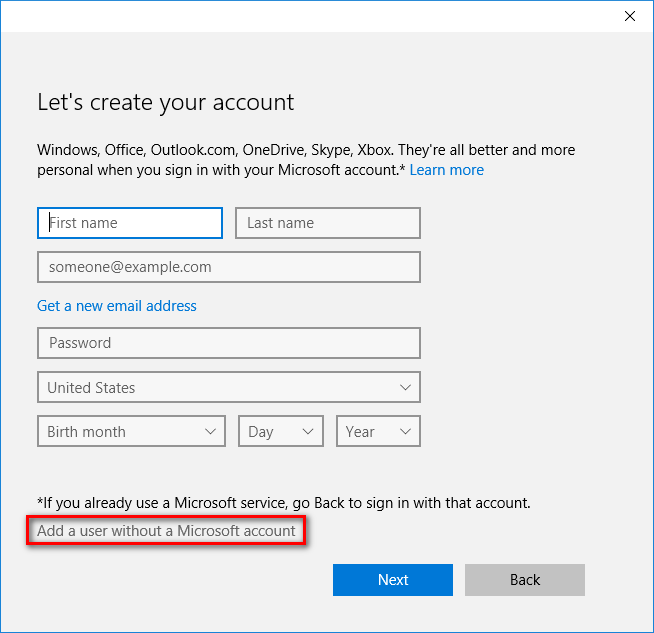
Select Add a user without a Microsoft account:
Fill in the credentials of the new user and press Next:

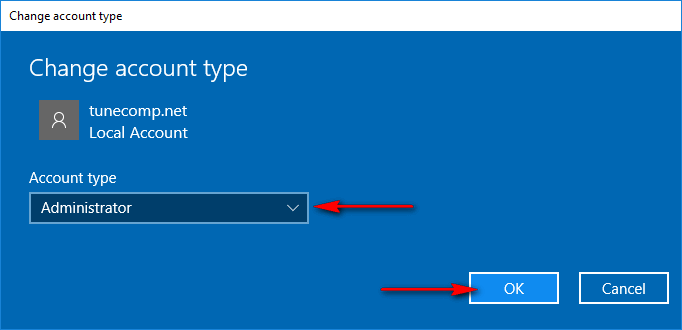
If you want new user to be admin on this PC, click on the user name, select Change account type:

Select Administrator and click OK:
How to create a local user in Windows 10 using command prompt
Do the following:
1. Launch an elevated command prompt.
2. Then type the command:
net user Username Password /add
Example:

If you wish new user to be admin type the following:
net localgroup administators Username /add
Example:

Tell us in the comments whether or not you liked the guide and what purpose did you use it for?