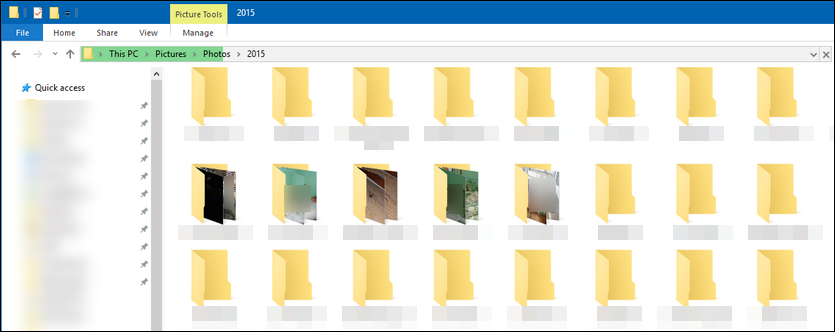
Each time you open the same folder with pictures Windows 10 starts re-creating thumbnails from a scratch. It’s not actually a problem if there is five images in the folder.
But if you browse through a huge archive containing tons of pictures in good quality you will waste a lot of time waiting until the thumbnails are ready and your hard drive finally stops making noise.
The thing is that since the Fall Creators update Windows 10 started clearing thumbnails cache on every reboot. Consequently, the file explorer recreates them the next time your open the folder with images.
You can face the issue of recreating thumbnails if you:
-
- selected Medium, Large, Extra large icons, Tiles, Content or manually adjusted the icons size so they started showing thumbnails instead of icons:

- you have the option “Always show icons, never thumbnails” disabled in the File Explorer settings:

- selected Medium, Large, Extra large icons, Tiles, Content or manually adjusted the icons size so they started showing thumbnails instead of icons:

In this article we will explain how to make things right and stop Windows 10 from deleting the thumbnails cache on every system reboot.
5 Steps to Stop Windows 10 from Deleting Thumbnails
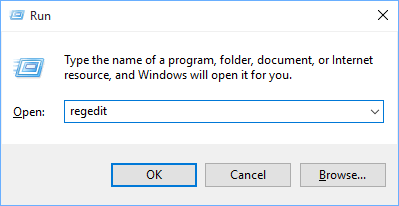
- Launch the registry editor:

- Navigate to HKEY_LOCAL_MACHINE\SOFTWARE\Microsoft\Windows\CurrentVersion\Explorer\VolumeCaches\Thumbnail Cache
- Double-click the already existing Autorun value or create a new DWORD 32-bit and name it Autorun. Even if you use a 64-bit version of Windows 10 you must create DWORD (32-bit) value.
- Set Autorun to 0:
 If you have Windows 10 32-bit edition this was your last step. Reboot your PC and check if something changed.
 - for Windows 10 x64 only. If you are using a 64-bit Windows 10 navigate to another key in your registry editor:
HKEY_LOCAL_MACHINE\SOFTWARE\WOW6432Node\Microsoft\Windows\CurrentVersion\Explorer\VolumeCaches\Thumbnail Cache
and change Autorun‘s value to 0 (or if the value is missing, right-click the empty space, create a new DWORD-32 value, name it Autoran and set it to 0):
 If you have Windows 10 32-bit edition this was your last step. Reboot your PC and check if something changed.
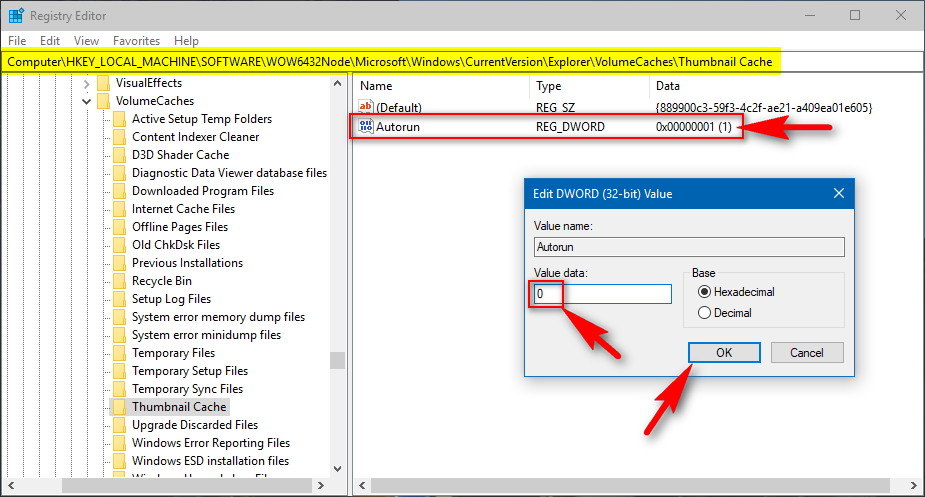
Done!
Now reboot your PC and when Windows 10 boots up open the file explorer, navigate to any folder with images, be sure to switch the type to show thumbnails instead of icons and check if the explorer loads thumbnails.
Reboot your PC once again if necessary to check the same folder.
Now you can manually clear thumbnail cache for a specific folder if you need (when you really need it).