Contents
Almost all routers allow to assign a fixed hostname and domain name to a dynamic Internet IP address. After that you would be able to access the router remotely from anywhere. Here is how to create a free hostname at No-IP and set it up on your router.
How to create a free hostname at No-IP
STEP 1. Go to the official website of No-IP: https://noip.com
STEP 2. Register.
Enter your email, create login, password and press Create My Free Account:

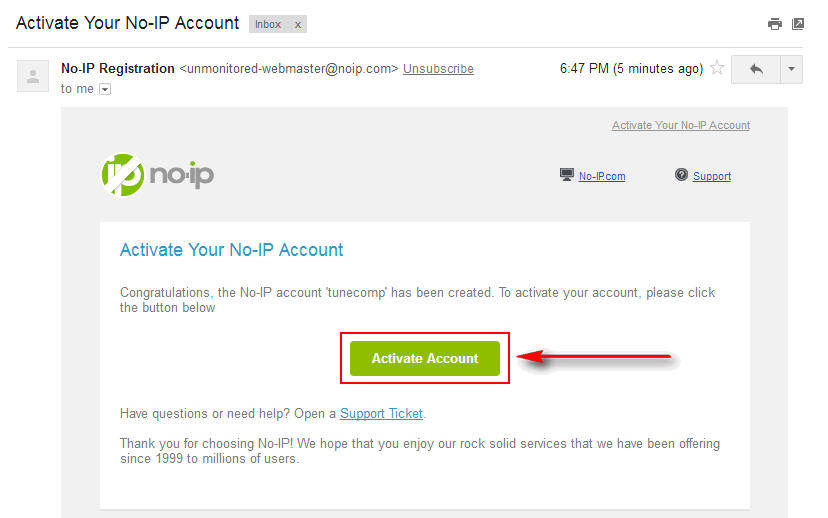
STEP 3. Check your mailbox and verify your account:
STEP 4. Click on Create a Hostname Now:

STEP 5. Register a hostname
Select one of free domain zones.
Pick up a name.
Click Add hostname:

Note! If you want to change these settings, for example add or delete a hostname, click on My Account…

… and then click on Dynamic DNS:

How to bind No-IP hostname to your router
Go to your router’s web interface and set up dynamic DNS using your newly created account and a domain name:

The only thing left to do is to check everything.
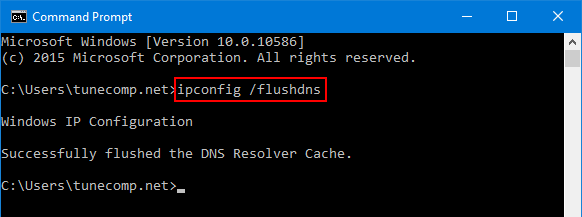
Launch command prompt.
Delete the DNS cache using ipconfig /flushdns command:
Ping your hostname:
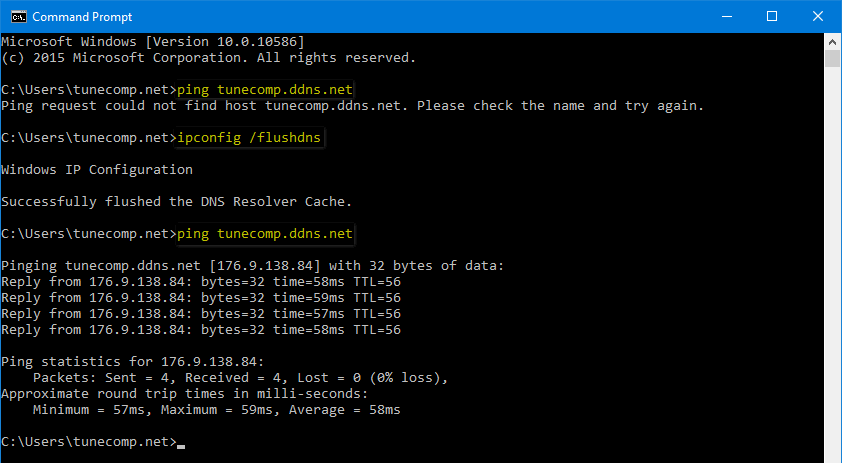
If the DNS server does not resolve the IP correctly wait for a minute, delete DNS cache once more and check again (see the image above).
You may want to read how to access your router remotely.