Contents
Why You May Need It?
Creating a system restore point may help to recover your OS Windows without reinstalling it from a scratch in a case of a serious problem: for example, if your OS got infected with a malware, your PC suddenly started slowing down, freezing, glitching, rebooting by itself or the system files have been corrupted due to any other reason. Note that you need to enable system protection first to be able to use the roll back. You should know, that creating restore pint does not guarantee that you will be able to recover your OS in 100% of cases. But nonetheless, it gives you more chances to restore your PC to a working condition in case of unforeseen circumstances. Please note that for a more reliable backup of the operating system, you should create a full disk image.
How to create a restore point in Windows 10
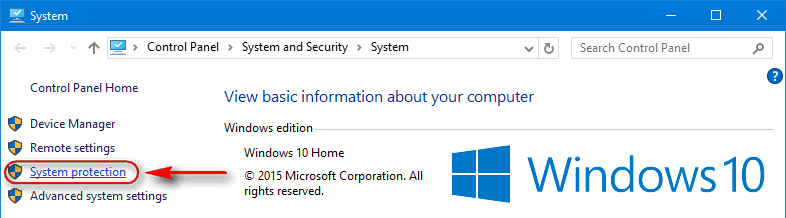
Step 1. Go to “System”
- The easiest way to do it is to press Win+Break.
- Another way is right-click “This Computer” and select “Properties”:


Step 2. Click “System protection”
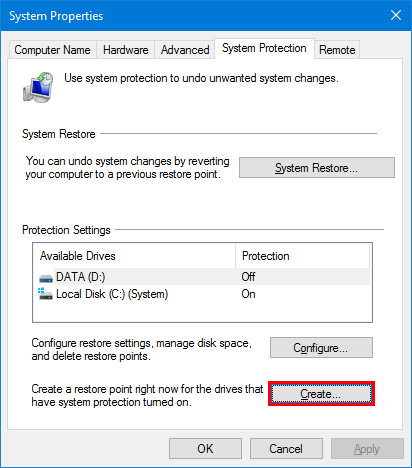
Step 3. Click “Create”
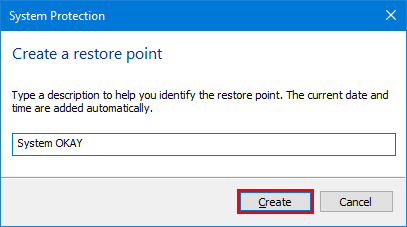
Step 4. Type a name for the restore point and click “Create”:
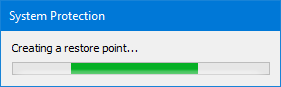
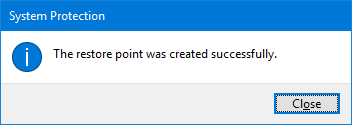
Then wait for the point to be created:

Click on “OK” when it is ready:
Henceforth, you can roll back your OS Windows to a state at a specific point in time in case if you faced a BSOD problem, unstable work, glitches, virus infection or any other trouble.
Please, share your thoughts in the comment section. We would really appreciate if you would tell us whether or not you use this feature.