Our subscriber wrote: Some time ago after I upgraded my Windows 10 computer to the next OS version (as far as I remember it was spring Creators Update) I noticed some sound issues: There were pops and clicks when I listened to music and watched videos on YouTube.
After 20 minutes of troubleshooting I found one-click workaround: I just switched to High Performance profile in Power Options and audio started to perform fine. Some days ago I decided to clean reinstall my Windows 10 pro due to some glitches.
I created the USB stick with the latest version, formatted disk C: and installed OS from a scratch. After everything such as drivers and a few programs was ready I noticed the issue with audio card again and was eager to switch the Power plan the way I did before.
How I was surprised when I saw that there is only one power plan in the settings. There are no High Performance plan any more. I see only Balanced (recommended) plan that is active of course. Tell me, please, can I manually create and activate high performance plan in power options on my Windows 10?
We don’t know for what purpose Microsoft hid the plans except Balanced but we know how to quickly get them back.
Article Contents:
- Add High Performance Plan in Windows 10 using Control Panel
- Add Ultimate or High Performance Plan using the command
Steps to Create High Performance Power Plan on Windows 10
- Press Win+X.
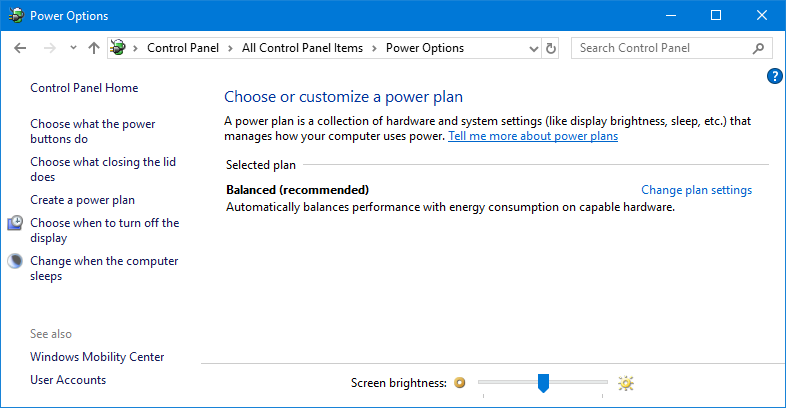
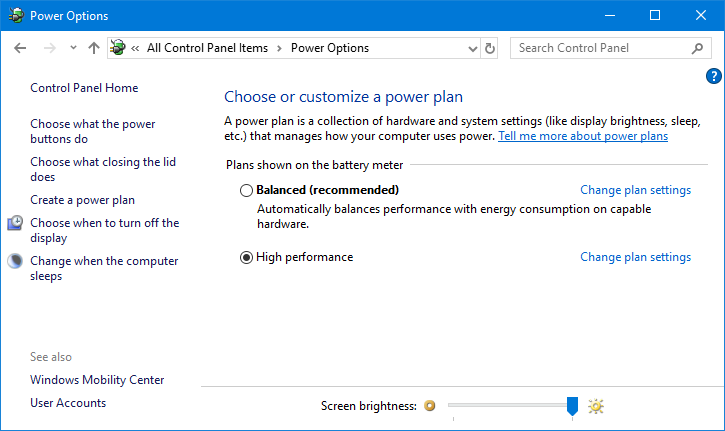
- Select Power Options.
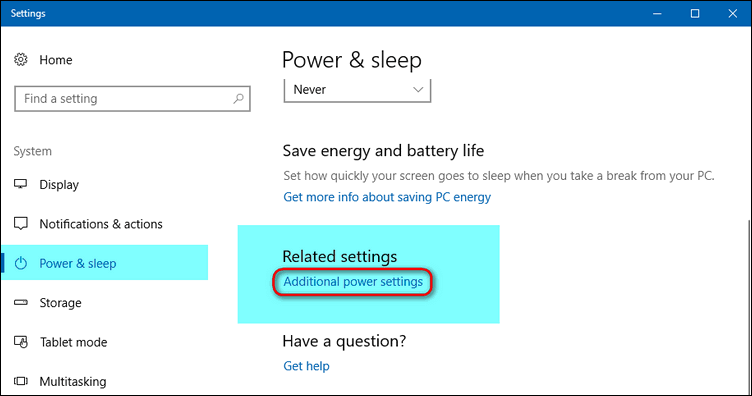
- Click on the Additional Power Settings link in the Related settings area:

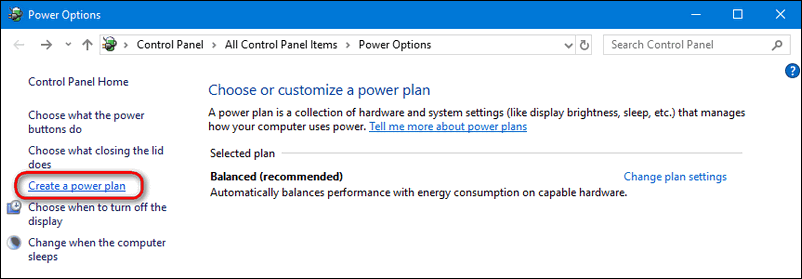
- Click on the Create a power plan link in the left pane:

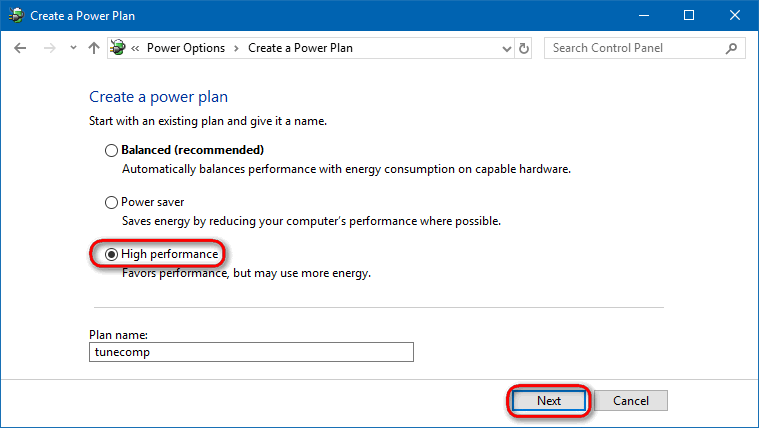
- Select High performance, specify the name for your new plan and click Next:

- Choose the timeouts for sleep mode and display, that are preferred for you and finally click on Create:

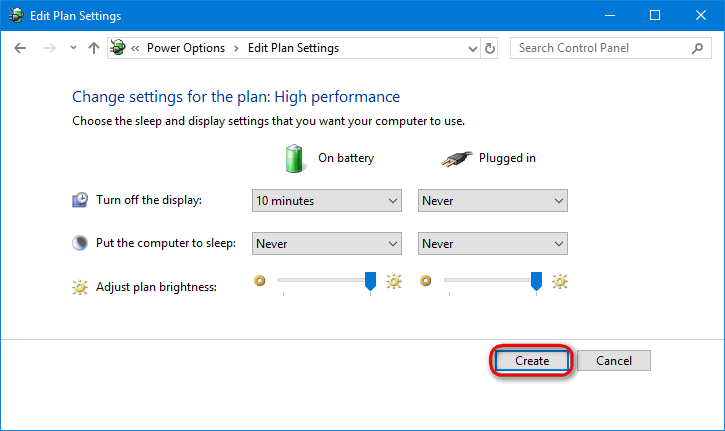
Once you perform these steps the new power plan will be added and activated:
Now you can customize it. Click on Change plan settings link near your high performance profile and then click on Change advanced power settings. In this window you can tune all the settings you don’t like to be at default values. Click OK when done.
In my example I set “Do nothing” when I close the lid while plugged in because I use my laptop with external monitor: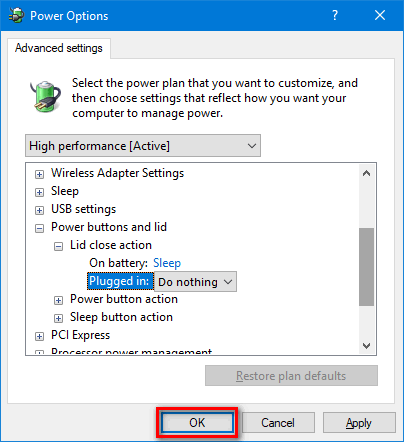
What is the Ultimate Performance Power Profile in Windows 11/10?
The Ultimate Performance power plan on Windows 11 (10) is a high-performance power profile that is designed to provide the maximum performance possible from your device. This power plan is available on certain Windows 11 editions and is designed for power users who need the highest level of performance for demanding tasks, such as gaming, video editing, or other CPU-intensive tasks.
The Ultimate Performance power plan differs from other power plans in several ways, such as:
- Processor performance: The Ultimate Performance power plan sets the minimum and maximum processor performance to 100%, which means that your device will always be running at full performance.
- Cooling policy: The cooling policy is set to “active,” which means that your device’s cooling system will always run at maximum capacity to prevent overheating.
- System responsiveness: The Ultimate Performance power plan prioritizes system responsiveness over power consumption, which means that background processes may use more power and CPU resources.
However, the Ultimate Performance power plan may also consume more power and generate more heat, which could reduce the battery life of your device and potentially cause thermal issues if not properly managed.
It is recommended to use the Ultimate Performance power plan only when you need the maximum performance from your device and switch to a power-saving plan when you’re not performing demanding tasks. Additionally, if you’re using a laptop or portable device, make sure to monitor the temperature of your device while using the Ultimate Performance power plan to avoid overheating.
Add High Performance or Ultimate Performance Plan in Windows 10 or 11 Using the Powercfg Command
The Ultimate Performance Power Plan is a power plan introduced in Windows 10 and is also available in Windows 11. It is designed to provide the maximum possible performance on high-end systems with demanding workloads, such as high-end gaming or video editing.
Enabling the Ultimate Performance power plan will cause your computer to use more power, which can result in increased performance. This is achieved by disabling certain power-saving features, such as CPU throttling and timer coalescing, which can negatively impact performance.
It’s worth noting that the Ultimate Performance power plan is not available on all systems, as it requires certain hardware capabilities, such as a high-end CPU and cooling solution. In addition, it’s not recommended to use this power plan on laptops running on battery power, as it can drain the battery quickly and generate more heat.
If the previous method doesn’t work for you, try this one.
- Open command line or PowerShell.
- Copy the following command.
For adding the High Performance plan:powercfg -duplicatescheme 8c5e7fda-e8bf-4a96-9a85-a6e23a8c635c
If you need to add the Ultimate Performance plan:powercfg -duplicatescheme e9a42b02-d5df-448d-aa00-03f14749eb61
- Paste it into the command prompt window (right-click in the latest versions of Windows 10).
- Hit Enter on your keyboard:
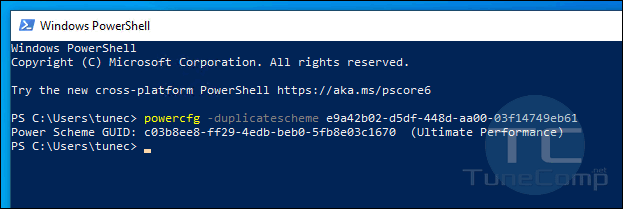
The power plan will be added instantly right after your pressing the Enter key.
Wrapping Up
In such an easy way you can add high performance or energy saving plans to power options using the pre-configured templates and customize them afterwards. Did this solve your problem?
I don’t know what’s the reason of such a “feature” but I faced the same when I clean reinstalled Windows 10 using recently created USB stick with a fresh OS distributive. There is no more High Performance power plan at all. You have only Balanced power plan. Thank you for your tip!
or Go to Windows Mobility center and select high performance from drop-down
Great walk through. worked.
Hi, for me when I try to create a new plan, High Performance does not show up.
Just to choose the name of the new one.
In fact my issue started when noticed USB is missing from the power plan ( the only I have, Balanced).
Tried all solutions from forums, no luck.
Any idea?
Thanks
Same problem.
check your drivers
same problem, anyone else?
Try this instead powercfg -setactive 8c5e7fda-e8bf-4a96-9a85-a6e23a8c635c
worked
None of these solutions worked for me. No high performance under any window. Tried powercfg restoredefaultschemes and nothing
Thank you. I will check the guide on the latest build of Windows 10. Apparently, something has changed.
Thank you, You have helped alot!
Greeting’s from the Philippines!
Happened to me a few days ago when there’s a pop-up to choose and after that other power settings were gone.
I have 2 laptops and I installed clean installs of Win10 pro from Win10 Home factory installs. I did not “upgrade” either machine, I know what I’m doing. I did fresh Win10 Pro installs with 2 new Win10 Pro full retail licenses that I purchased legitimately. On my older Dell Inspiron 15-3567 laptop, I enabled Ultimate Performance Plan from a guide and everything went fine. I recently upgraded this machine upon getting my new one, another Dell Inspiron 15-7586 2 in 1. I did both Windows 10 Pro installs around the same time, within 24 hours of each other, older upgraded machine first. I just tried the same guide to enable the Ultimate Performance Mode on this one and it didn’t work. This one is “higher” end than the other one, not that either are really anywhere near high end, but I’m confused as to why it would work on one but not the other. Seemingly similar machines for the most part, one is a 3000 series, lower end from the start and the other being the 7000 series, higher end than the 3K. I added an SSD to the 3K but it’s a SATA 3. The one in this is a PCIe 2, superfast . I don’t get it. I know this thread is about High Performance Mode but it came up in my search and upon reading, I’m experiencing the same behavior as the users who aren’t seeing the High Performance Mode so I figured I chime in and see if anyone has insight.
Good. My PC is running smoothly thank you