Contents
Why Clear the Cache?
The general answer is: when you have issues related to Windows Updates. Here are the most spread specific reasons:
- your machine cannot find available updates for a long period of time (two or three days);
- stuck “searching for updates” in the Settings app;
- stuck “preparing to install updates” on the screen when you reboot or shutdown your system;
- you encounter errors during the installation of the new OS version;
- TiWorker.exe is using your CPU for several hours and is not going to stop its activity;
- you would like to free some disk space by deleting some cache files.
How to Clear Windows Update Cache in Windows 10
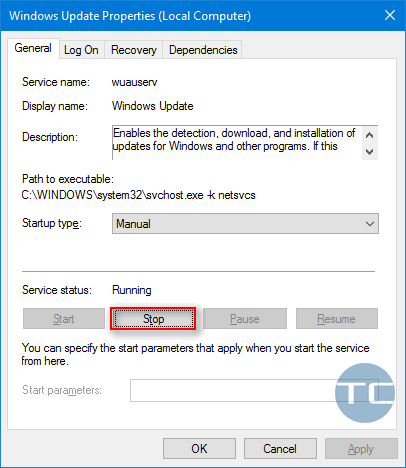
Step 1. Stop the Windows Update (wuauserv) service
- Press Win+R.
- Type services.msc and hit Enter.
- Find Windows Update (wuauserv) and double click it.
- Click Stop.
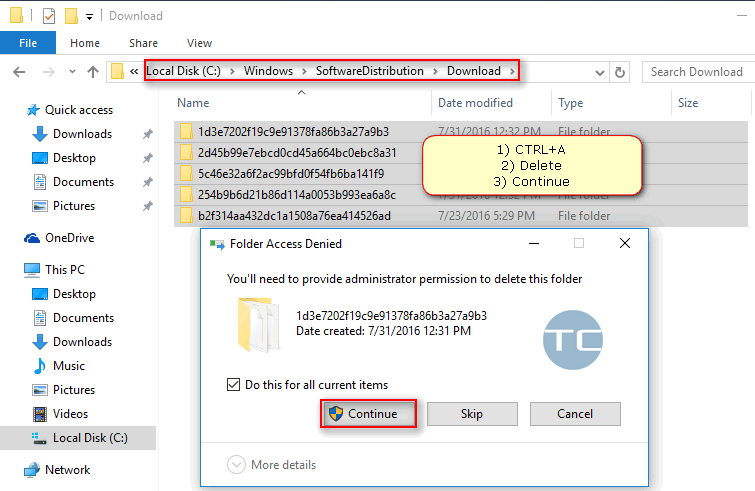
Step 2. Delete the cache
- Browse to:
C:\Windows\SoftwareDistribution\Download
Where C is the letter of your system drive.
- Press CTRL+A.
- Press Delete to remove all files and folders.
- Press Continue.

Delete all folders to clear the cache - Empty the Recycle bin!

Step 3. Start the “wuauserv” service again by clicking the Start button
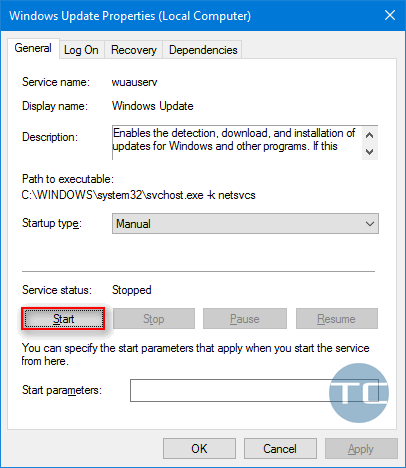
Done!
Conclusion
Now you know to fix problems related to updates in Windows 10. Please, share your thoughts in the comments below! What problems did you have? Did the guide help you solve them? Do you know any other methods to fix the issue? Your contributions are very much appreciated! Thank you in advance!