Contents
When network discovery is turned off no one can access your shared folders, download and upload files and even see you PC in the list of network devices. It is okay to restrict access by turning off network discovery when you are connected to the public hotspot at Starbucks, but when you are at home you may want to make your machine accessible by all other trusted devices belonging to you or to your organization. Here is how to turn on network discovery in Windows 10 using different methods.
How to turn on network discovery using the Windows Explorer
- Press Win+E to open the explorer.
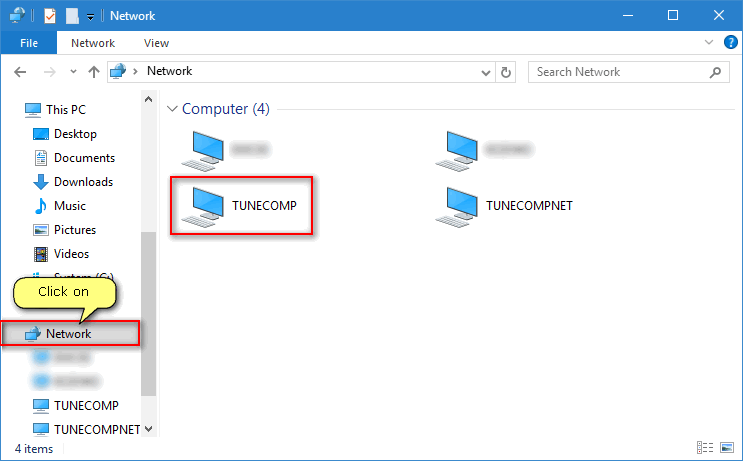
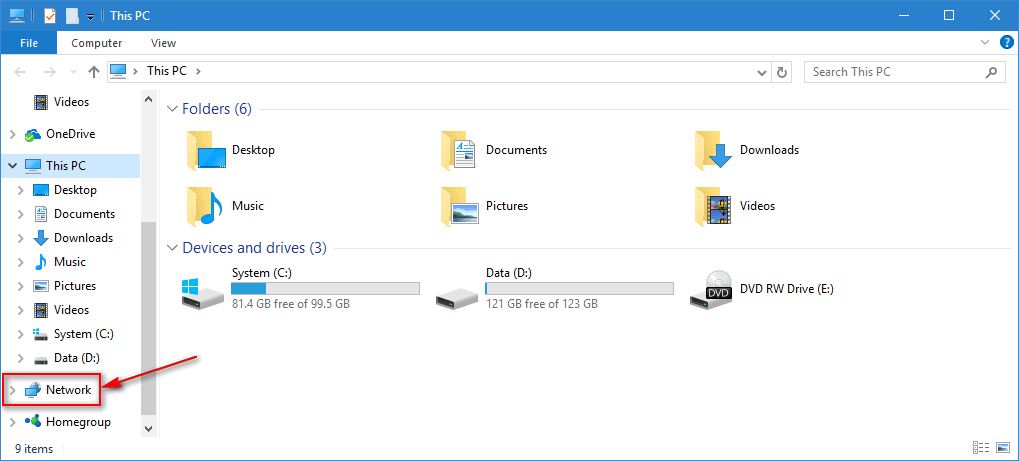
- Click on Network in the left pane:
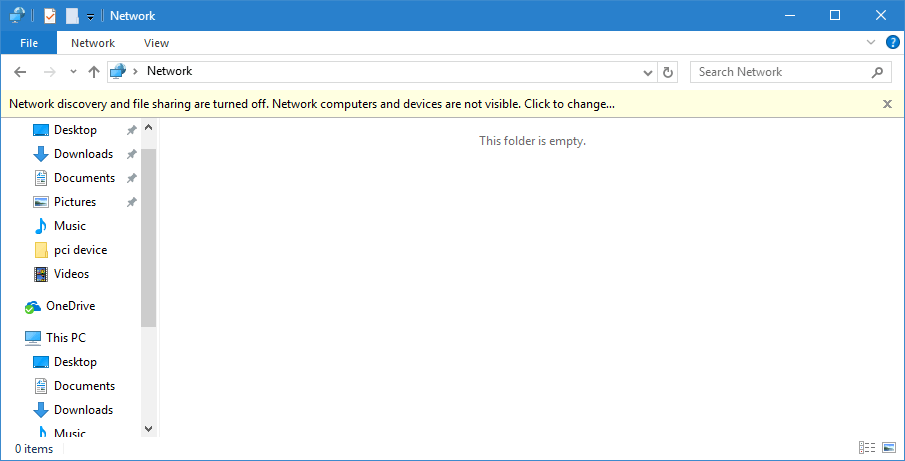
- Click on the yellow bar saying Network discovery and file sharing are turned off. Network computers and devices are not visible. Click to change…

- Select Turn on network discovery and file sharing:

- Now it is advised to select No, make the network that I am connected to a private network:
 If you select the second option (Yes) you will turn on network discovery and file sharing for all public networks you will ever connect your PC to that is quite insecure!


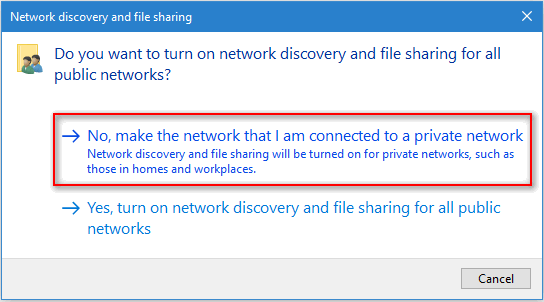 If you select the second option (Yes) you will turn on network discovery and file sharing for all public networks you will ever connect your PC to that is quite insecure!
Do the Same Using the Settings App
This is the most preferable way to turn on (or off) the discovery of your PC:
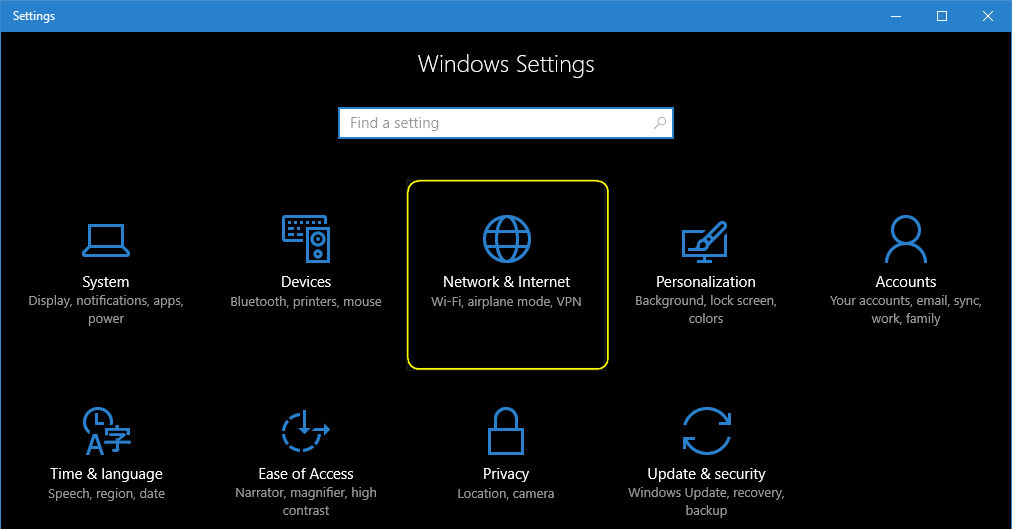
- Press Win+I to open Windows 10 Settings app.
- Select Network and Internet:

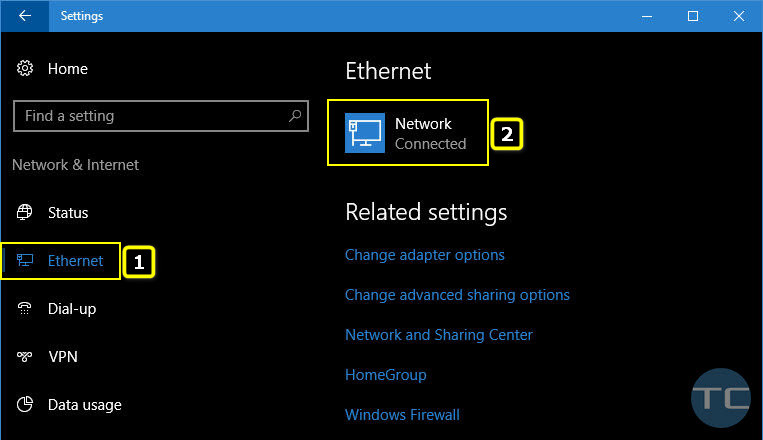
- Head to Ethernet or Wi-Fi depending on what type of connection you are using:
- Click on your connection on the right:
 Nearly the same thing when using Wi-Fi:
- Toggle it ON or OFF:

 Nearly the same thing when using Wi-Fi:
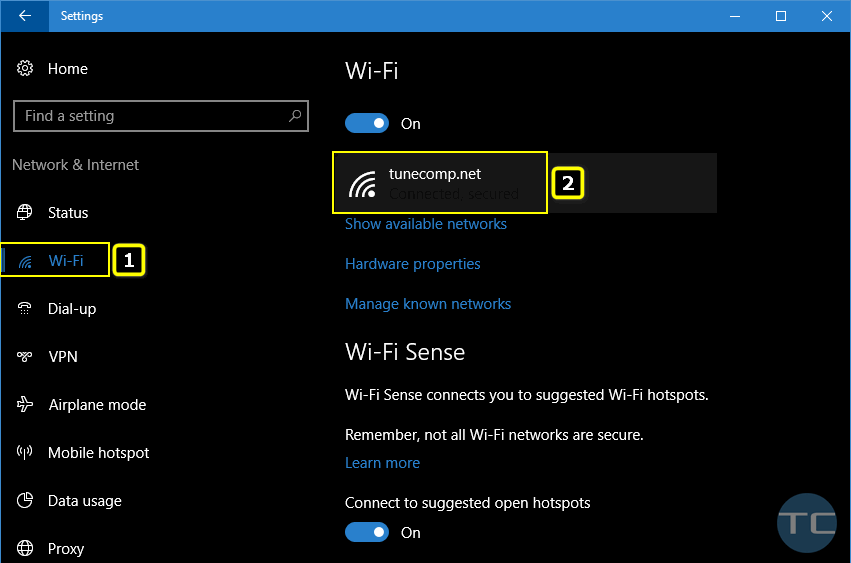
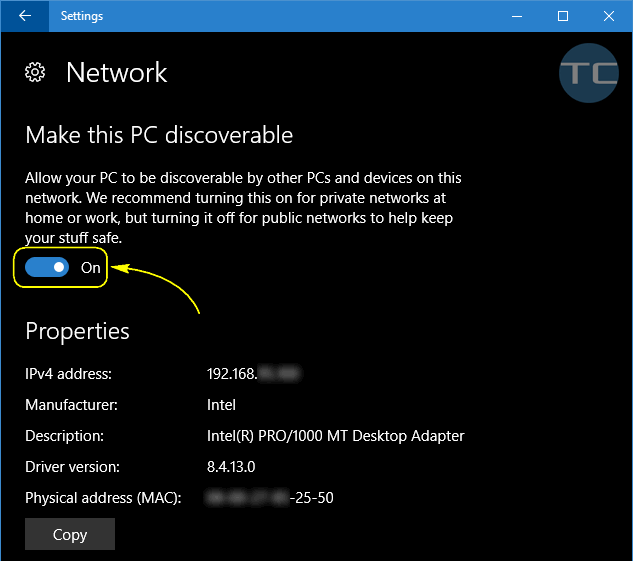
Now your computer can be discovered in the list of neighbor devices and be accessed over the local area network: 
Using Control Panel
Here is how to do the same using the deprecated Control Panel. Note that in future Control Panel may disappear from Windows 10.
- Right-click the network icon in the Taskbar.
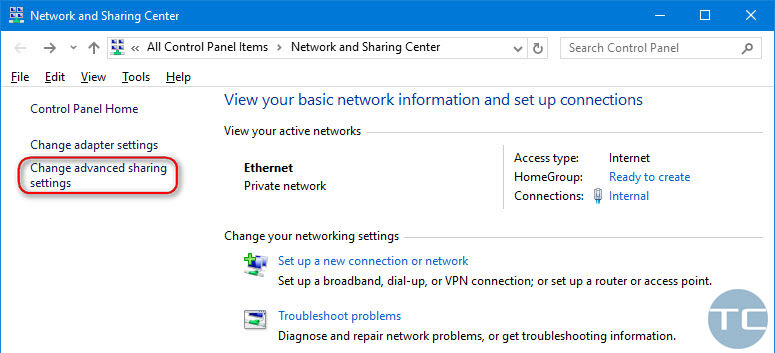
- Select Open Network and sharing center:

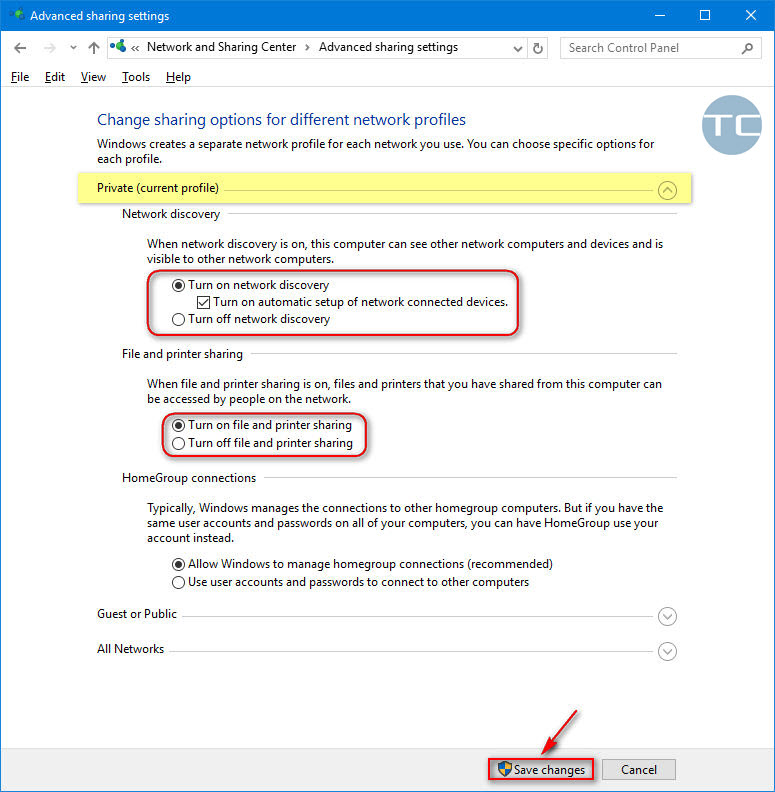
- Click on the Change advanced sharing settings link on the left:

- Turn on Network discovery for network profiles you want. For example you might want to make your PC discoverable for Private networks and turn off discovery for Public ones:


Using Command Prompt
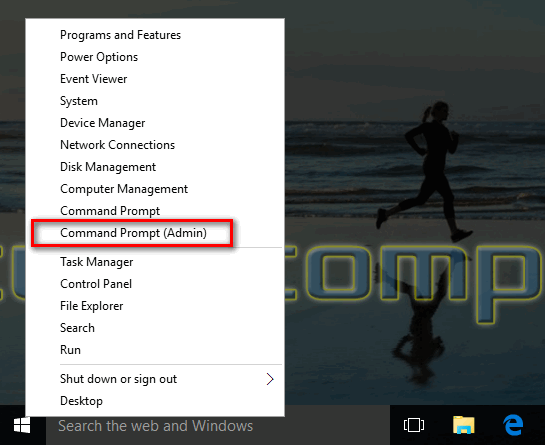
- Launch the Command Prompt as administrator:

- Type the corresponding command to turn on or off the discovery:
Enable discovery:
netsh advfirewall firewall set rule group="Network Discovery" new enable=Yes
Disable discovery:
netsh advfirewall firewall set rule group="Network Discovery" new enable=No
That’s it. Feel free to drop a comment if you have something to add or have any questions!