Contents
Many of you faced the “PCI Simple Communications Controller” unknown device in “Other devices” section of the Device Manager on a laptop under Windows 10. Let us find out how to download and install its driver.
What is ‘PCI Simple Communications Controller’ on Windows 10?
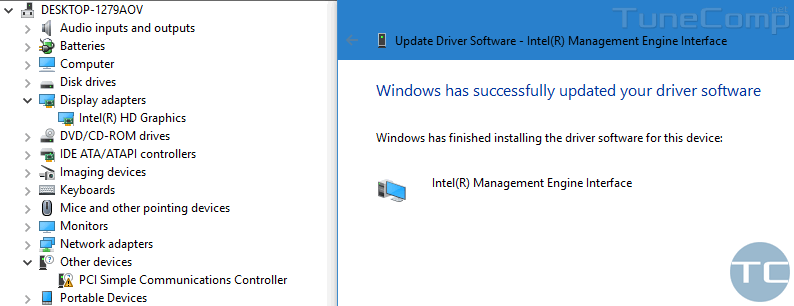
PCI Simple Communications Controller is Intel(R) Management Engine Interface system device which serves to manage some Intel hardware and firmware.
How to install the driver for PCI Simple Communications Controller?
Method 1
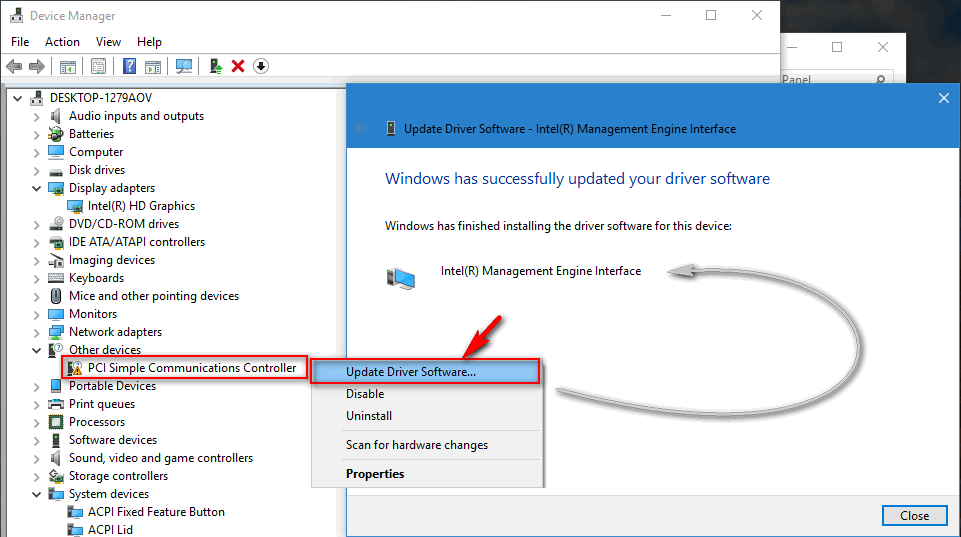
Right-click the device with triangle error mark located in “Other devices” and select Update Driver Software. In most cases Windows 10 will download and install the proper driver from Microsoft Update:
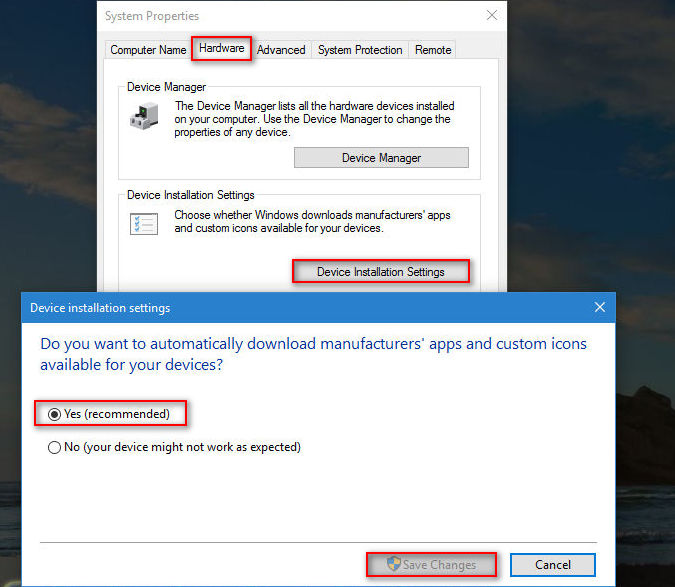
Ensure you have driver updates feature enabled for this method to work.
- Press Win+Pause/Break.
- Click on Advanced system settings.
- Head to the Hardware tab.
- Click on the Device Installation Settings button.
- Select Yes (recommended).
- Click Save Changes:
Method 2
Use the official Intel Driver Update Utility to correctly detect the component and install the proper driver: www.intel.com/support/detect.htm

The utility will propose you to download and install all missing or outdated drivers for Intel components found in your system.
Did Both. Neither worked.