By default the OneDrive folder is located in C:\Users\Your-Name\OneDrive. Why move it? The most common reason is when your current drive (in most cases your system disk) is out of space and you want to change the location of the OneDrive folder to another disk or partition. You may also want to do it if you are re-organizing your folders to bring order to your hard disk. Using this step-by-step guide you will be able to do it easily and quickly.
Move the OneDrive Folder in Windows 10
Follow the steps to rename your OneDrive folder and/or move it to another disk. The thing is first we need to disconnect syncing, than rename or move the directory to another location and finally set up syncing again.
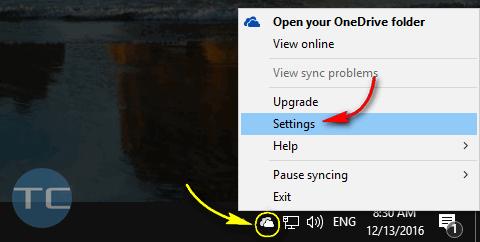
- Right-click the OneDrive icon in the Taskbar.
- Select Settings:

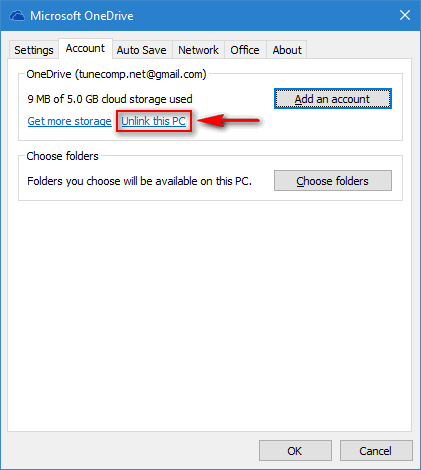
- On the Account tab click Unlink this PC:

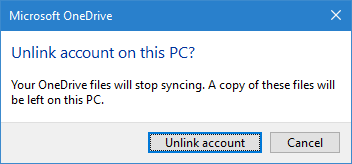
- Confirm by clicking Unlink Account:

- Don’t close the OneDrive login window.
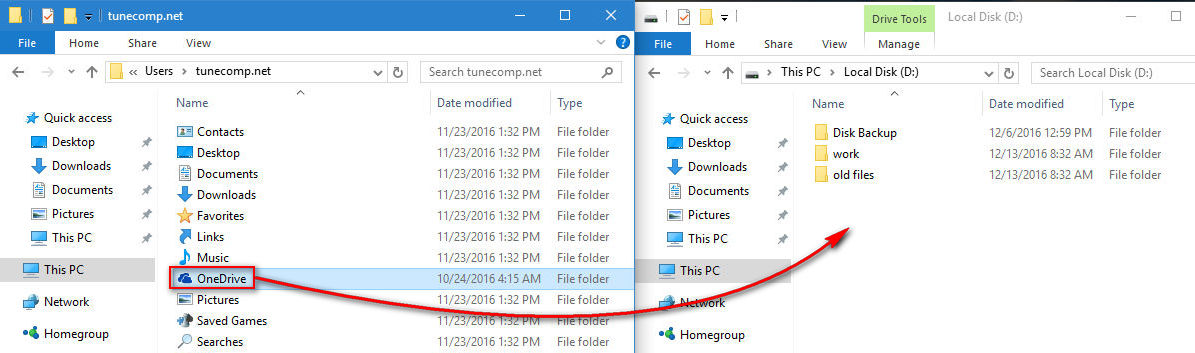
- Move your OneDrive folder to where you wish it to be located. Let’s say we would like to move it from disk C: to disk D:.
 By the way, you can also rename it to anything you wish, for example OneDriveAdam or Jane’s Microsoft Cloud.
- Go back to the login window and enter your email address:

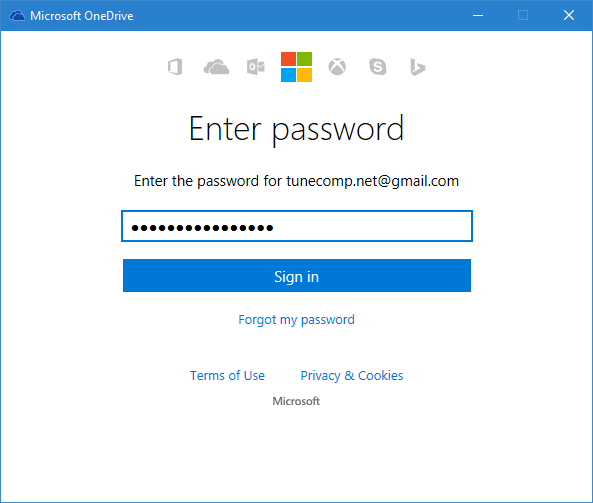
- Type the password for your Microsoft account and click Sign in:
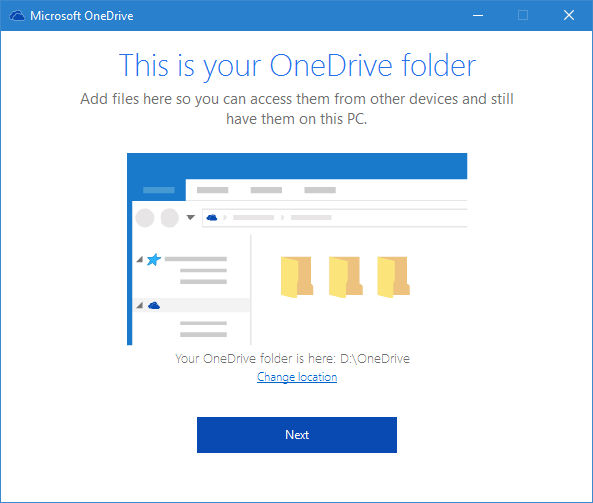
- In this windows you will see “your OneDrive folder is here”. Click Change location:
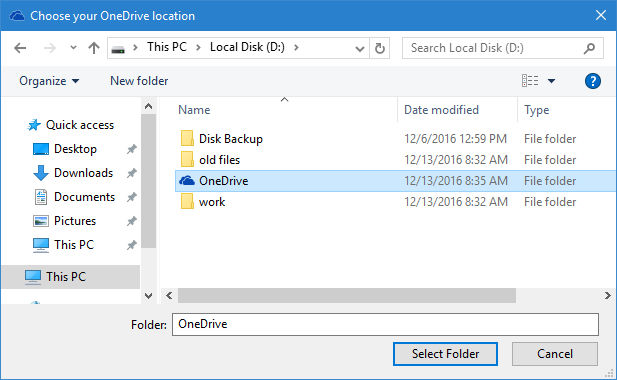
- Select the new location of the OneDrive folder (where you have just moved it to):

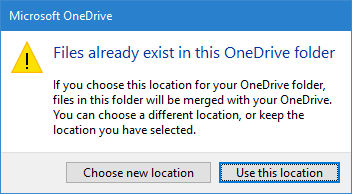
- Now you will see the window warning you “Files already exist in this OneDrive folder”. Click Use this location:

- Here you can see that the path has been changed to D:\OneDrive. Click Next:
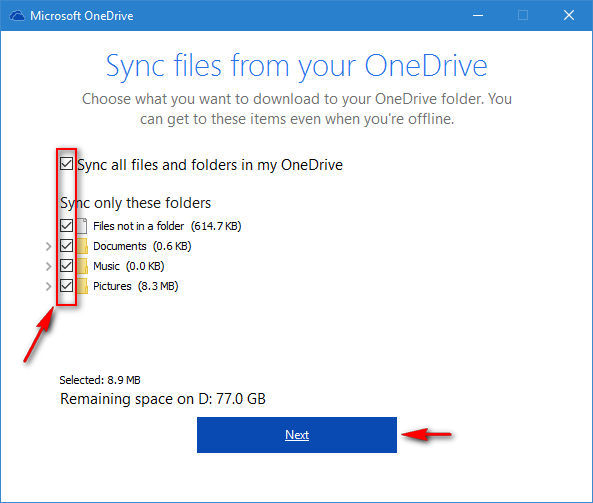
- Select what files and folders you would like to sync and click Next:
- Now you may close the window:
 By the way, you can also rename it to anything you wish, for example OneDriveAdam or Jane’s Microsoft Cloud.
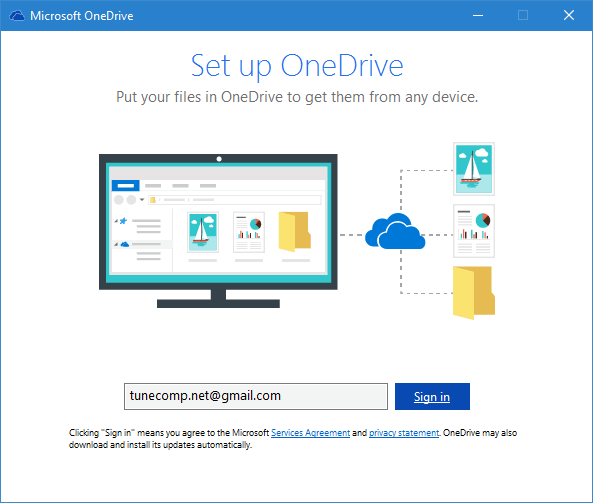
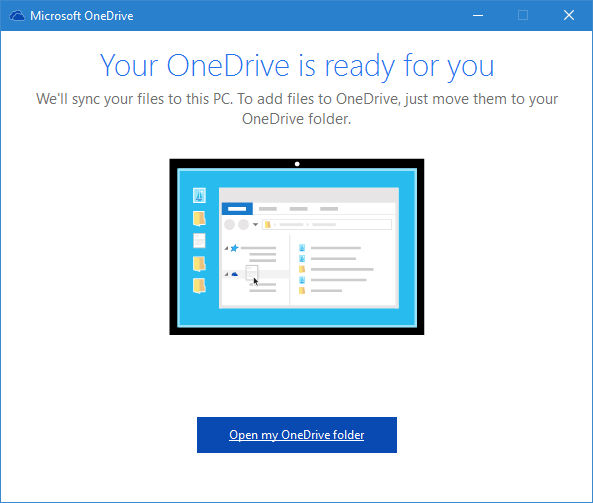
After these simple steps OneDrive will compare the files in the local folder and in the cloud and in a few minutes will be ready to work with the new location.