For some purposes you may need to launch programs as administrator. Even when it comes to a console window.
You may need it when modifying serious system settings like administrating group policies, configuring network interfaces, editing user rights, creating or deleting accounts, and more.
Well, here are multiple methods to open an elevated PowerShell session in Windows 10.
Win+X Menu — Run PowerShell as a Pro Admin
This is perhaps the quickest way to open the PowerShell as admin and my favorite one. You don’t even have a mouse connected to your Windows 10 PC to use it.
All you need to do is:
- Press the “Win+X” key combination.
- Select “Windows PowerShell (admin)”.
- Hit Enter on your keyboard.
Then, if you have the UAC enabled, select “Yes”. You can do it by using the arrow keys as well.
Note, that this shortcut is available in Windows 10 Creators Update and later OS versions.
From Start Menu
This method works on all Windows 10 versions.
1. Press the Start button.
2. Start typing “powershell” in the search field.
3. Right-click the PowerShell in the results.
4. Select Run ad administrator:
5. Press Yes in User Account Control dialogue window:
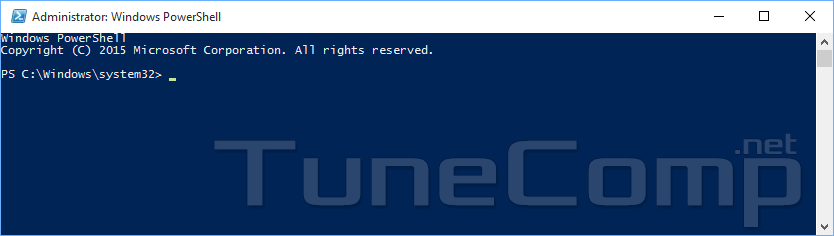
Here is the elevated PowerShell:
From CMD or Run Dialogue
- Open the command line or Run dialogue by pressing “Win+R” and hitting Enter:
- type or copy & paste from here
powershell -Command "Start-Process PowerShell -Verb RunAs" - Click “OK” or hit “Enter”.
- Click “Yes” in the UAC window.
Run PowerShell as Administrator from Non-Elevated PowerShell Session
- In PowerShell session type Start-Process PowerShell -Verb RunAs
- Hit “Enter”.
- Confirm by clicking “Yes” in the UAC dialogue.
From Task Manager
Windows Task Manager allows to open an elevated session of PowerShell without typing complicated commands. All you need to do is:
- Press “Ctrl+Shift +Esc”.
- In the “File” menu click “Run new task”.
- Type
powershell - Set the “Create this task with administrative privileges” checkbox.
- Click “OK” or hit “Enter”.
From Windows 10 File Explorer
Here is yet another option. You may directly launch the .exe-file. Follow the steps:
- Press “Win+E” to launch the File Explorer.
- Navigate to
C:\Windows\System32\WindowsPowerShell\v1.0
(assuming that C: is the letter of the disk volume where your Windows 10 is installed). - Find the
powershell.exe file - Right-click it and select “Run as administrator”.
Click “Yes” in the UAC window if it appears and the elevated PowerShell session will open.
Tell us in the comments, for what purpose did you need to follow this guide?
Adam Swift Adam is a real tech maniac. He likes to spend time testing phones, tablets, laptops, as well as any other technical devices, and write practical manuals on their functions. He often sleeps all day, but always works at night. Adam bought his first computer in 1999, being an absolute beginner who never held a computer mouse in his hands. He began to study Windows, constantly experimented and often crashed the operating system. But six months later, he was able to reinstall Windows 98 from a scratch on his own, fix almost any software problem on a PC, he also did hardware upgrades and realized that computers, operating systems and programs are now his biggest passion. In addition, Adam has always been a big lover of phones. With the advent of smartphones with Android OS, he began to pick at them much more than in computers. Now Adam loves to study privacy issues in instant messengers, blocking unwanted calls and other nuances related to privacy and security on the network. You can follow him on Twitter: https://twitter.com/tunecomp