Contents
Sometimes you may think your monitor turns off too fast or stays on for too long while your system idles. Here is how you can increase or decrease the time period defining how long your display will stay on and how soon it goes to sleep in Windows 10.
How To Change The Screen Timeout On Windows 10
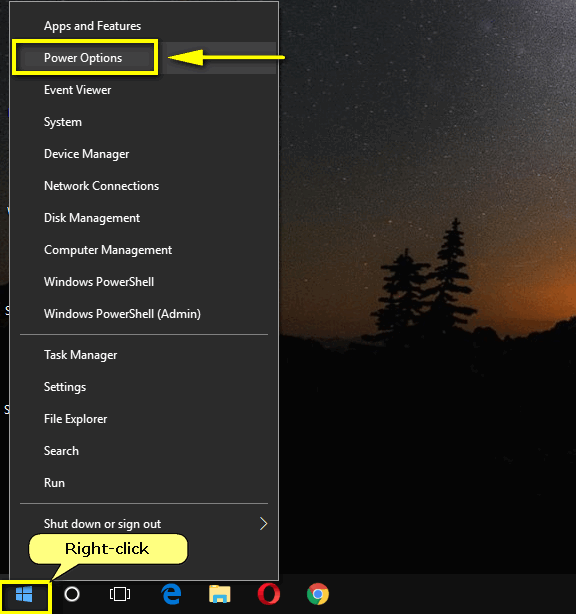
- Right-click the Start Button.
- Select “Power Options“:
 In a moment you will be taken to Settings > System > Power & sleep.
 - In the “Screen” section set the desired timeout for plugged in and battery modes:
 Also pay attention to the “Sleep” section. Make sure you don’t have your PC set up to sleep too soon.
 In a moment you will be taken to Settings > System > Power & sleep.
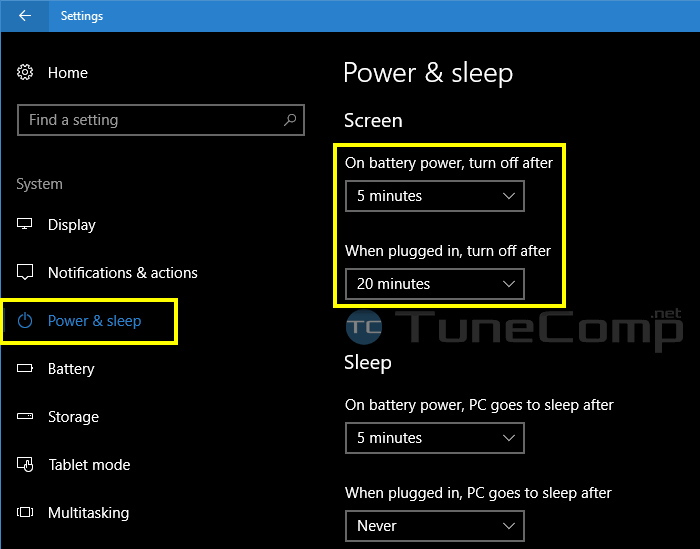 Also pay attention to the “
Now your screen will stay on during the specified time period.
How To Adjust Screen Timeout On Windows 10 Without Creators Update
On Windows 10 without Creators Update you need to:
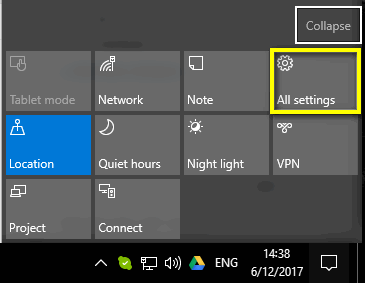
- Press Win+I to open Windows 10 Settings:

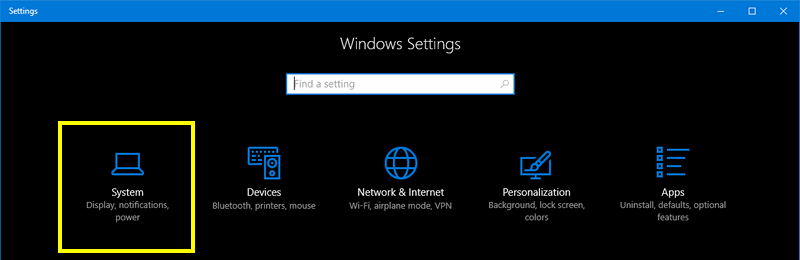
- Select “System“:

- Click on “Power & sleep“.
- Then you need to adjust settings described in the previous paragraph.
Adjust Display Sleep Timeout Using The Control Panel
If for some reason you want to use deprecated Control Panel, follow the steps:
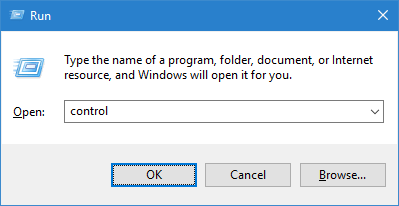
- Press Win+R.
- Type “control“.
- Hit “Enter“:

- Switch to “Small icons” view.
- Find “Power Options“:

- Click “Change plan settings” in front of your active power plan:

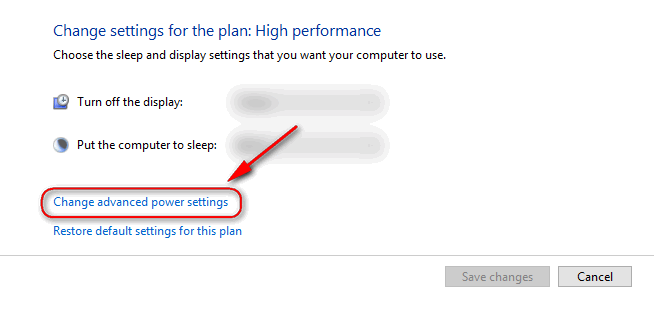
- Click on “Change advanced power settings“:

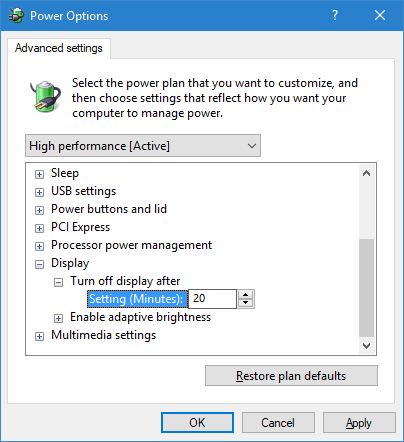
- Scroll to “Display” and double click on it.
- Edit “Turn off display after” to the desired value.
- Click “OK” to save settings:


That’s it.